In this article, we will have a look at how to create a footer in Divi theme using the Divi Theme customizer. Later in the article I will also show you how to create custom footer in Divi websites.
A footer is one of the most important part of a website. It showcases a finished feeling for your visitors, while also giving crucial information and navigation links to the entire website, in case they have missed it elsewhere.
There are two options to create Footer in Divi;
- Make a Divi global footer using theme’s customizer settings (make use of WordPress Sections & Widgets)
- Create Custom footer in Divi using the Divi Builder
Divi Footer Parts
A footer on Divi website contains 3 parts
- Widget Area
- Footer Menu
- Bottom Bar
All of these 3 parts are completely customizable via the theme customizer.
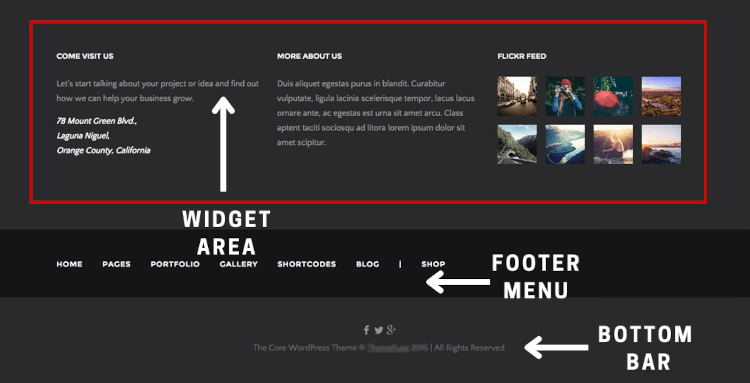
The Divi footer design can easily be customized from the Theme Customizer or Appearance menu, on your WordPress Dashboard.
If you need the Widget Area and the Footer Menu, it is up to you. Since these are optional and can be hidden. But, to hide the Divi Bottom Bar, it requires some CSS code.
Creating Footer In Divi Theme
Divi footers uses WordPress widgets. That means you can easily create and edit a footer in Divi website using the Theme Customizer.
The only tricky part here is to really understand that in this way, you do not have to use the Divi Builder tools. Do not confuse this method with the one where you use the Visual Builder. Building footer in Divi theme is a completely different method, and it requires you to start from Divi Theme Builder.
Step 1: Go To Theme Customizer
Go to your WordPress Dashboard, look for Appearance, and click on Customize.
Alternatively, you can also hover your mouse on Divi and select Theme Customizer. Either of them will open the Divi theme customizer for you.
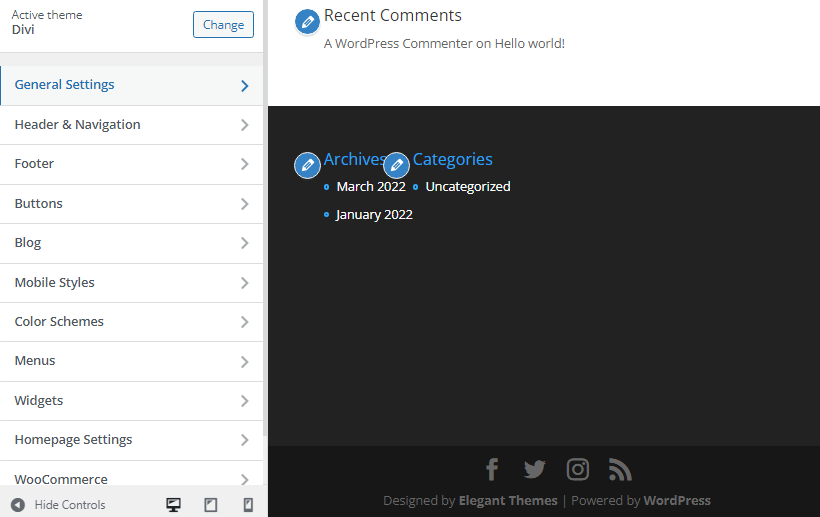
Step 2: Open Theme Customizer Footer Settings
Now click on Footer. After clicking on Footer, you will see 5 options to set your styles.
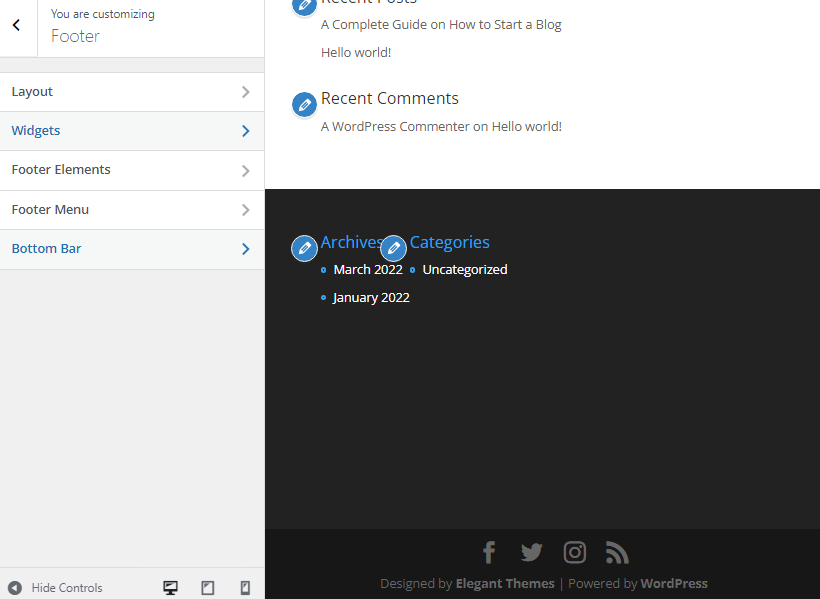
- Layout – Used for controlling the number of columns
- Widgets – Lets you control the appearance of the Divi footer widgets area
- Footer Elements – Manage Social Media Icons from here
- Footer Menu – Used for placing Horizontal Footer Menu in Divi Theme
- Bottom Bar – Required to change footer text in Divi theme
Step 3: Edit Footer Layout
Customize Footer Layout by clicking on Layout. Select the number of columns you need in the Widget Area. Plus, you also get to change the entire background color.
Note:- This applies to all the 3 Footer parts; Widget Area, Footer Menu, and Bottom Bar.
Step 4: Customize Footer Widgets
Next step is to customize Footer Widgets. Go back and now click on Widgets.
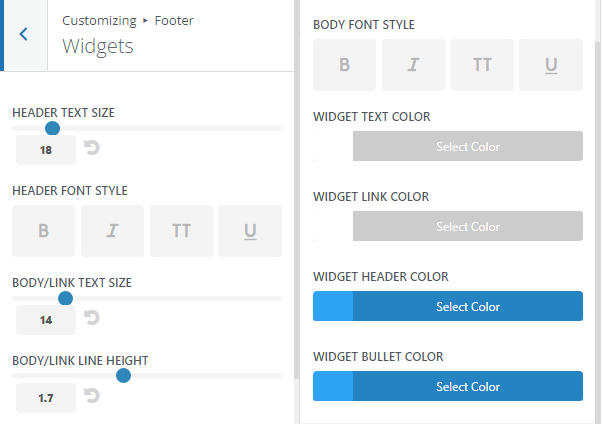
Here you can edit the Header, Font Styles, Body Text Size, Widget Text, Link, Header & Bullet Color. The changes you make here will only apply to the Widget Area.
Step 5: Show or Hide the Social Icons on Bottom Bar
Get back and now click on Footer Elements. From here, you can choose to show or hide social icons.
The Footer Elements menu controls the display of Social Media Icons. By default, you get to show or hide Facebook icon, Twitter icon, Instagram icon, and RSS feed icon.
We find this settting under the General Tab of Divi Theme Options.

Enabling or disabling social icons from the Divi Theme Options is great, but the problem here is that if you have YouTube, Pinterest or any other social channel, you don’t get to showcase that.
That is not the case if we create custom footers in divi via Divi Builder. Over there, you can insert multiple icons, stick HTML code, and customize the look.
Step 6: Customizing Footer Menu
Next option is to customize the Footer Menu. This is where you place the most important links like About Us, Contact Us, Privacy Policy, Sitemap, and other content related links to the website.
A footer menu distinguishes between the website and the website’s footer and it is important from the visitor’s point of view.
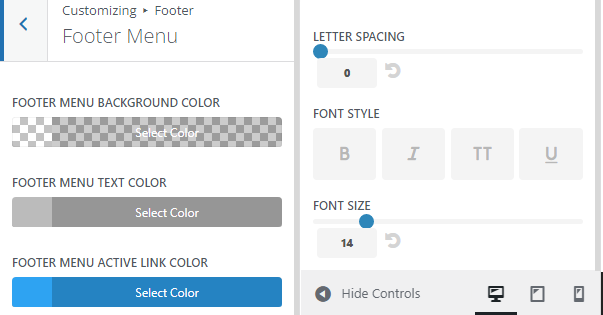
The Footer Menu in Divi allows you to control the menu’s background color, text color, and active link color. Moreover, you can also adjust letter spacing, adjust font size and style.
Allocate Footer Menu in the Menu Settings. To reach there, go to WordPress Dashboard, hover your mouse on Appearance, and click on Menus.
From the Edit Menus tab create new menus as per your rquirement.
Step 7: Customizing Divi Bottom Bar
Next comes the bottom bar. Just go back and click on the Bottom Bar, and you will see something like the image shown below.
You cannot disable this unless you add a CSS to the Additonal CSS portion of the Theme Customizer.
You can edit the background color, text color, font size, social icon size and color.
Most importantly, you get to enable or disable the Divi footer credits.
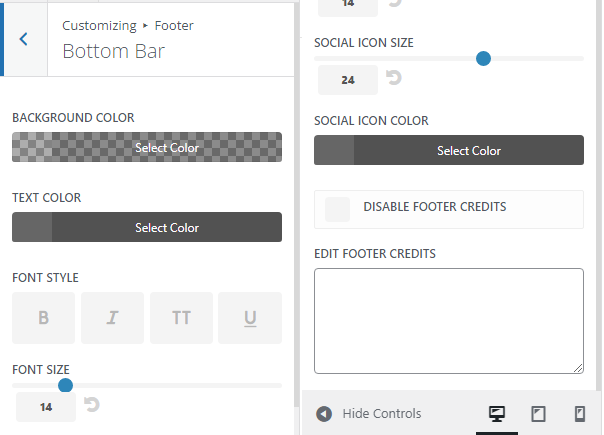
Bonus:- To remove Bottom Bar in Divi, just paste the below code into your Additonal CSS section of the theme customizer.
#footer-bottom {
display: none;
}
Before I complete this article, I wanted to showcase another method to create custom Divi footer.
This way of building footers is much easier, better and gives you more features while customizing footers.
I also wanted to show the difference in creating a Global Footer and Custom Footers in Divi.
To create either one of the footers, you will need to go to the Divi Theme Builder. Go to your WordPress Dashboard, hover your mouse on Divi and click on Divi Theme Builder.
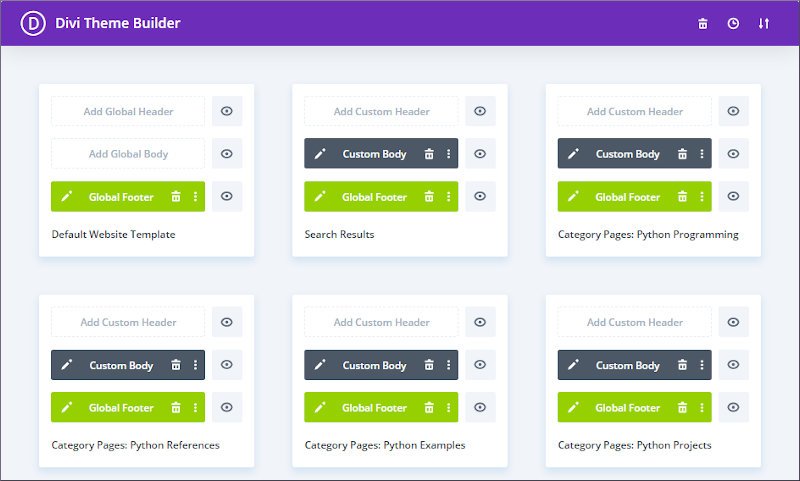
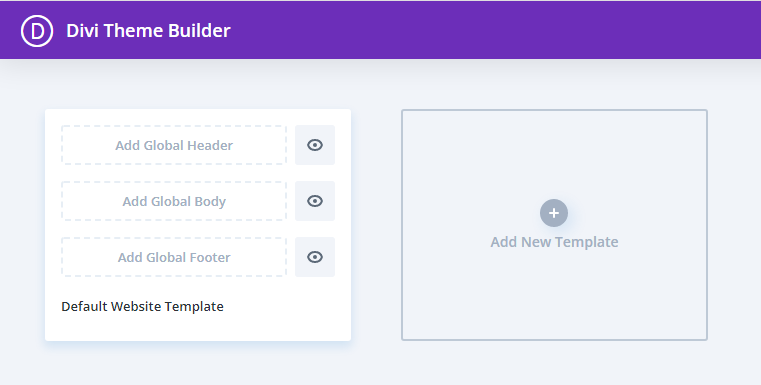
A blank dashboard with default website template section opens up. In the image above, I have already created multiple custom templates.
For creating a Global Divi Footer, just click on the first template’s ‘Add Global Footer’ section. It will prompt you to choose between Building Global Footer from scratch or Adding From Library.
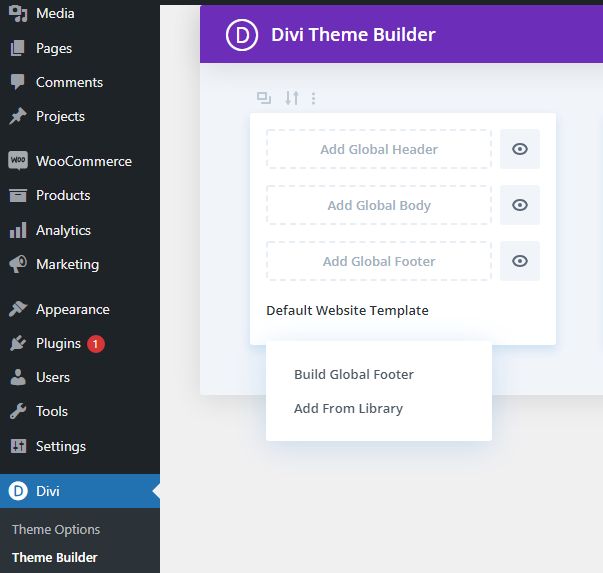
If you’d like to build a footer by yourself, just click on Build Global Footer or else select Add From Library.
Create Custom Divi Footer
The difference here between global and custom is only that for building any custom template in Divi, whether its header, footer, category pages, etc; you just need to click on plus sign on the new template.
Step1: Add New Template In Divi
Click on the plus sign in the template section, next to the default website template.
In our procedure, we like to create a footer. Let us just say that we are going to apply this footer to all our single blog posts. For doing that, you will be prompted with a list of pages and posts.
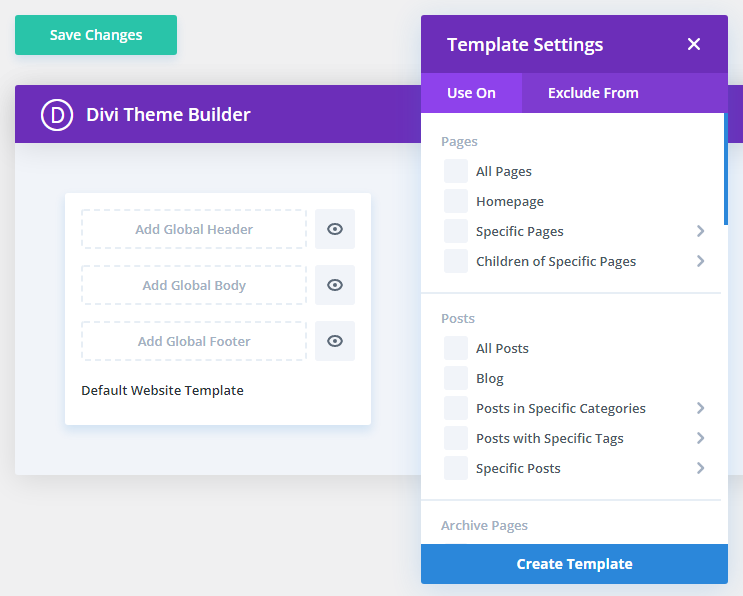
Click on All Posts, as we need to apply the new custom footer on all of our single blog posts, then click on Create Template.
Once that is done, you will see a Custom Template section besides the Default Website Template section.
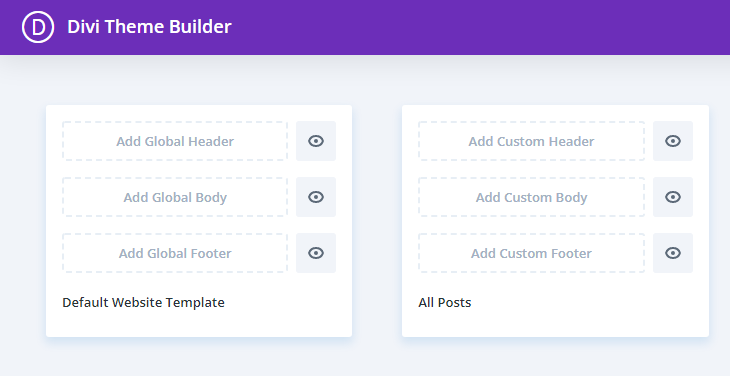
This template has been created for All posts. You can create Divi custom footer, header, body and make that consistent across all single blog posts on your website.
Remember, this only applies to single blog posts on your website and nowhere else.
Step 2: Add Custom Footer
The next step is to click on the Add Custom Footer section.
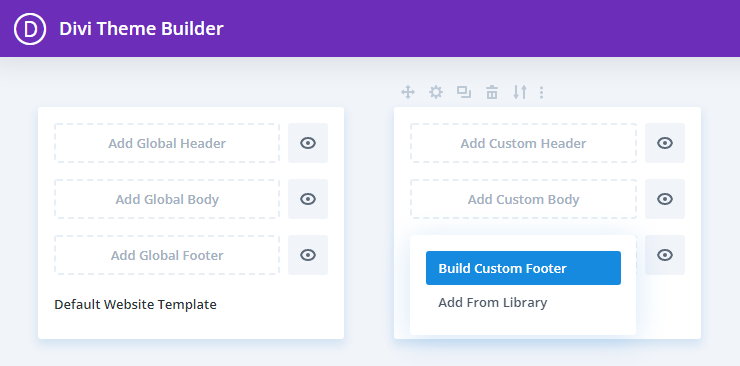
Similar to the one under default website template, you will be prompted to create a custom footer from scratch or from your Divi library.
Step 3: Build Custom Footer In Divi
I have selected ‘Build Custom Footer’ and it opens up a Footer Layout for me to customize.
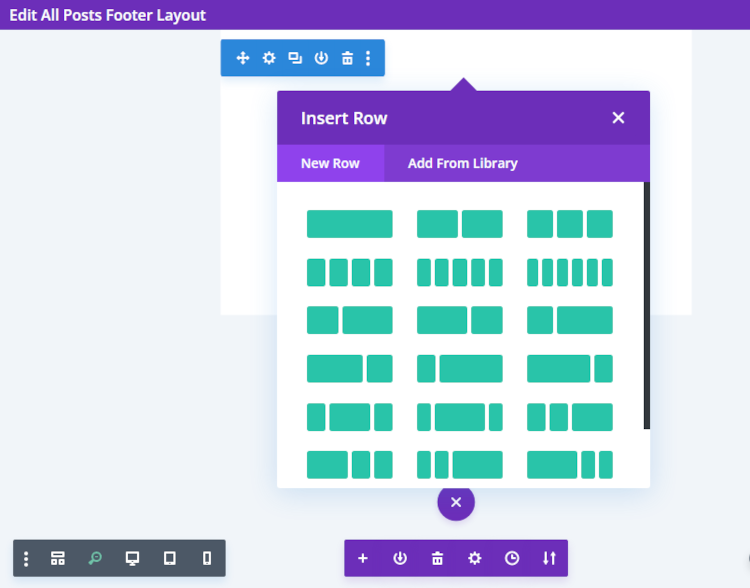
In Divi builder edit footer by adding rows, columns and sections to Divi custom footer.
Deciding on columns help you design footer widgets in Divi using visual builder.
Bonus: Check out Elegant Themes’s 10 Free Divi Footer Layouts to give you a heads up while designing custom footers.
FAQs – Create A Footer In Divi Theme
In the Divi theme, a Global footer means the footer that gets showcased on the entire website.
You can create footer in Divi theme in the following two ways;
1. Use Divi theme customizer
2. Create Divi custom footer using Divi builder
By default, every new website on Divi theme has a Divi global footer. For editing that footer in Divi, go to Divi theme customizer >> Footer. From there you can edit layout, widgets, Divi footer elements, footer menu, and bottom bar.
If you have created Divi footer via Theme Customizer, then you will need to add CSS code to the specific footer part, to make it sticky. But if you have made the footer via Divi Builder, then you need to click on the footer part (for example, widget area), open builder settings, go to Advanced section, and under Sticky Position select Stick To Bottom.
Click on the Footer part where you want to add your logo image, select builder settings, under Content tab go to Image section and add an image, click on save. Optionally, you can also enable lightbox.
Go to Divi theme customizer >> Footer >> Bottom Bar >> Remove or modify Divi footer credits.
Firstly, go to Divi theme options, enable the desired social media icons, that will add social icons to Divi footer. Then under Theme customizer >> Footer >> Bottom Bar >> customize social icons design, color, and size.
From your WordPress dashboard, hover your mouse on Divi, click on Theme Builder, this will open all website templates.
Find the Default Website Template, on Global Footer field – click on eye icon to hide Divi footer without CSS.
The Divi footer plugins which I have used and recommend others are;
1. MrkWP footer for Divi
2. Divi footer layout bundles
3. DiviWP footer sections
