In this GenerateBlocks tutorial, you will learn how to create a pricing table using GenerateBlocks. Plus, this method is applicable on free as well premium WordPress theme.
To create pricing table using GenerateBlocks
- Install GenerateBlocks plugin
- Insert a GenerateBlocks container block
- Select a GenerateBlocks grid block of 3 columns
- Apply GenerateBlocks headline block on all three container blocks
- List out your product features in all three blocks
- Apply GenerateBlocks buttons block to showcase or CTA
- Optionally, apply CSS to beautify your pricing tables
Each point mentioned above has multiple sub points. Therefore, we will go into all the details step-by-step in the following article.
For more information about bout blocks, features and design flexibility, check out the GenerateBlocks review post.
How To Create Pricing Table Using GenerateBlocks?
You can create GenerateBlocks pricing table using free or premium version of the plugin.
Time needed: 15 minutes
I have used the free version of GenerateBlocks to create the following pricing table chart on GeneratePress premium theme.
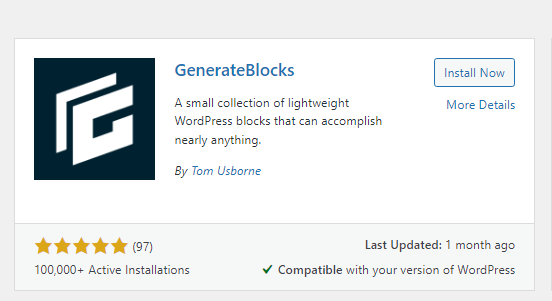
- Install GenerateBlocks WordPress Plugin
To install the GenerateBlocks plugin, go to your WordPress dashboard, hover your mouse on Plugins, and then click on Add New. Once the page opens, type GenerateBlocks, click on Install, and Activate.
- Insert GenerateBlocks Container Block
Wherever you want to create your pricing table, directly insert a GenerateBlocks container block. This is your main container block.
The overall pricing table design lies within this block.
Change Inner container width to 800 pixels.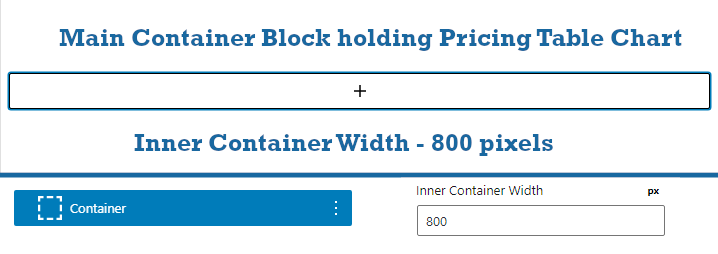
- Apply Background Color & Border to main Container Block
Now we need to to apply some background color to the container block that differentiates the pricing table section from the rest of the page. Plus, we will also apply border to our main container block and give it some border radius.
I have applied border size as 2 pixels, border radius as 3 pixels, container background color as DFF4FF, and border color as 2D68C4.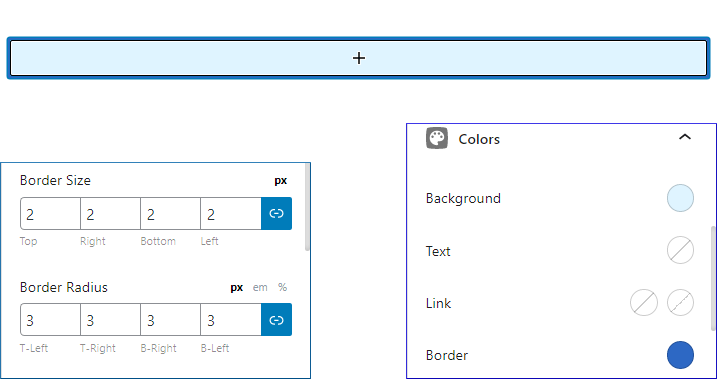
- Apply a GenerateBlocks Headline Block
Click on the main container block and insert a GenerateBlocks Headline Block. Align the headline block in the center and write ‘Pricing Plans’.
Note:- If your page already has an H1 title, turn the headline block into H2.
Give top and bottom margin of 25 pixels. Apply text color. I have applied color 2D68C4 to the text.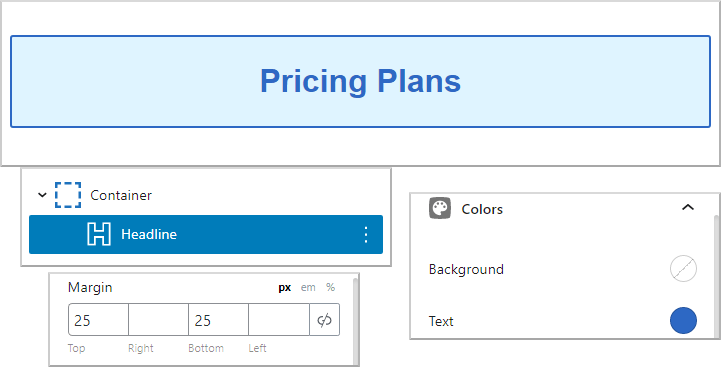
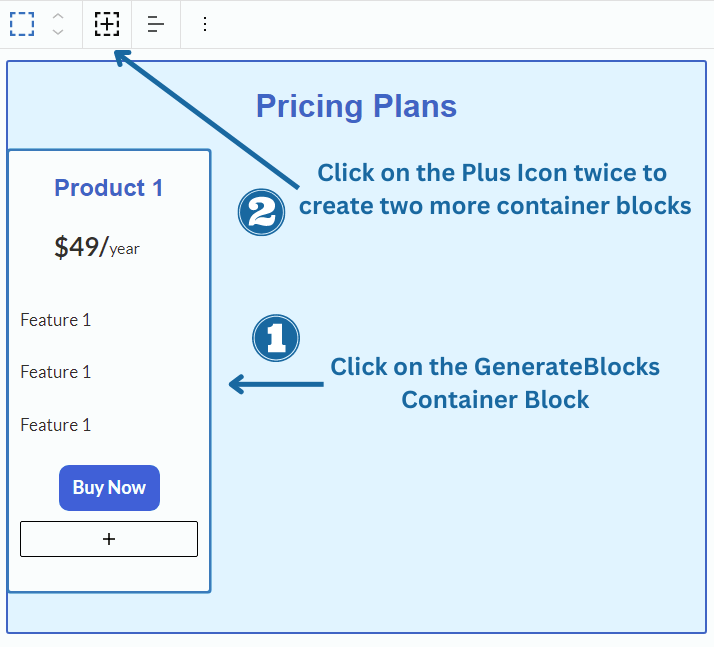
- Insert a GenerateBlocks Grid Block
Click on the main container block and insert a GenerateBlocks grid block of 1 column.
GenerateBlocks grid block automatically creates container block(s) within the grid block.
Following that, change Container Layout Width to 33.33%. We are going to create 1 grid container block and duplicate it to generate two more blocks.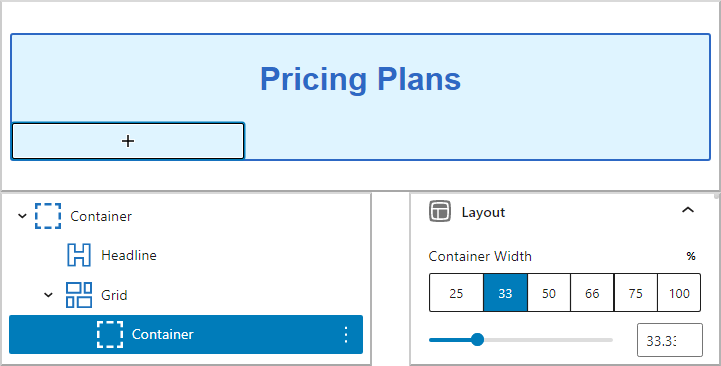
- Give Background Color to the Inner Container
Click on the grid’s container block. Change background color, apply padding and border radius.
I have given;
Background color – FFFFFF
Padding Right – 12 pixels
Padding Bottom – 35 pixels
Padding Left – 12 pixels
Border Radius overall – 10 pixels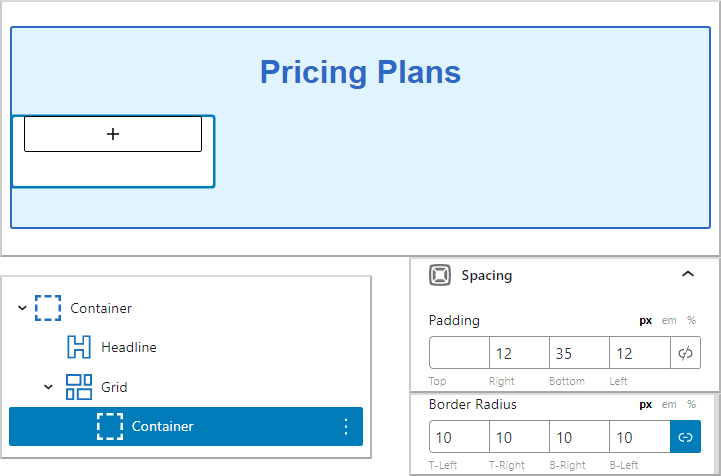
- Create Headline Block for Product Title
Now, add a GenerateBlocks Headline Block.
Since, the main headline block with the text ‘Pricing Plan’ is already an H2. Therefore, change this headline block’s tag to H3.
Apply top and bottom margin, and change text color relevant to the color scheme you follow.
I have given the text to this headline block as ‘Product 1’.
Top Margin – 20 pixels
Bottom Margin – 20 pixels
Text Color – 2D68C4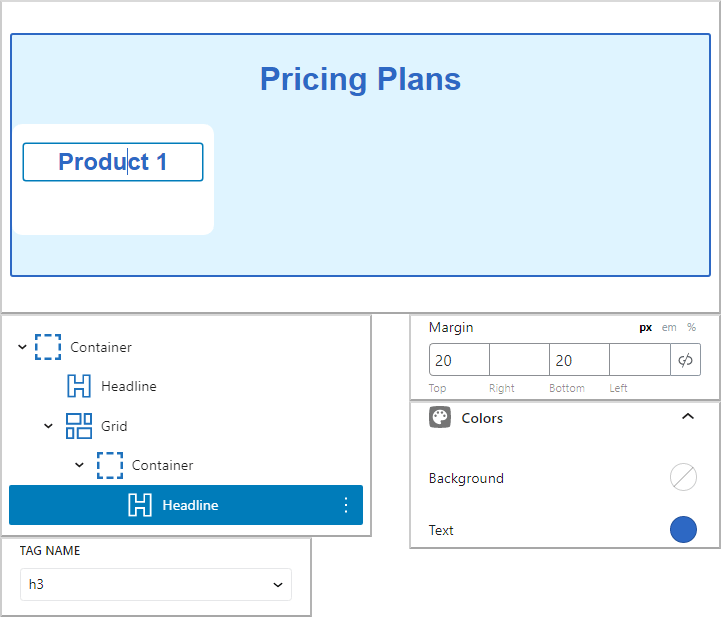
- Add Grid Block for Pricing Information
After adding product title, it is now time to add the price. We need to also mention the price monthly and/or yearly.
For that, you need to add a 2 column grid block.
The first container of the grid block will contain the price in numerical value. Whereas, the second container from the grid block will include text like ‘per month’ or ‘per year’.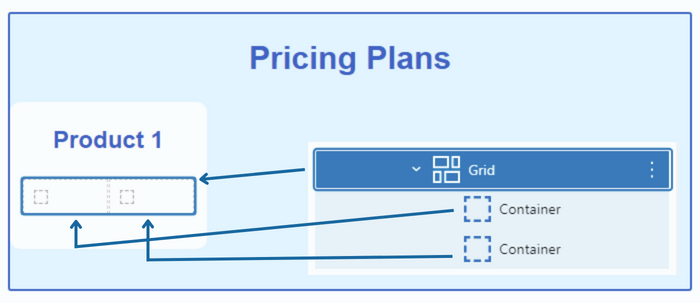
- Add Pricing Information
In the first column (container block) of the grid block, add a GenerateBlocks headline block and make it a Paragraph tag. Add numerical price value as text and justify text on right hand side.
In the second column (container block) of the grid block, add another GenerateBlocks headline block and make it a paragraph tag. Add text like ‘per month’ or ‘per year’. Select text, drop down the font size and apply top padding. So, that the text vertically aligns with the price value.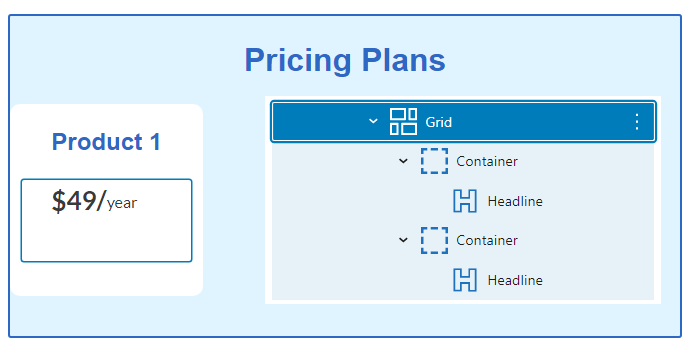
- Add Features to the pricing Container Block
After inserting the headline block, it is now time to add features of your product.
Click on the grid’s container block and add a Gutenberg Paragraph block.
Later, duplicate that block couple of times, just change the text.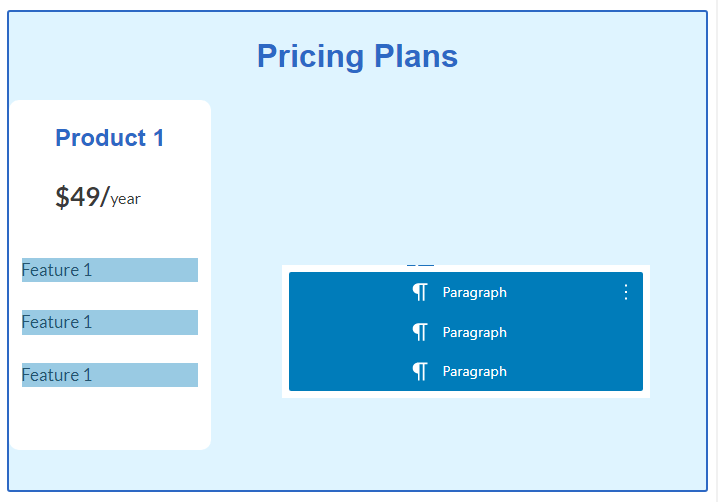
- Add Buy Now GenerateBlocks Button Block
After adding features to your product, it is time to add a GenerateBlocks Button block.
Click on the grid’s container block and insert a button block.
Give an appropriate text like ‘Buy Now’, align to center, and adjust the padding accordingly.
I have changed the following;
Font Style – Bold
Font Size – 18 pixels
Top Padding – 9 pixels
Right Padding – 14 pixels
Bottom Padding – 9 pixels
Left Padding – 14 pixels
Border Radius overall – 10 pixels
- Duplicate the Grid container block
After completing the first grid container block, just duplicate it twice for two more product price containers.
- Edit content in other two Container Blocks
Add more features and/or services to the other two pricing containers. Plus, also edit the price as well.
This is how it should look like.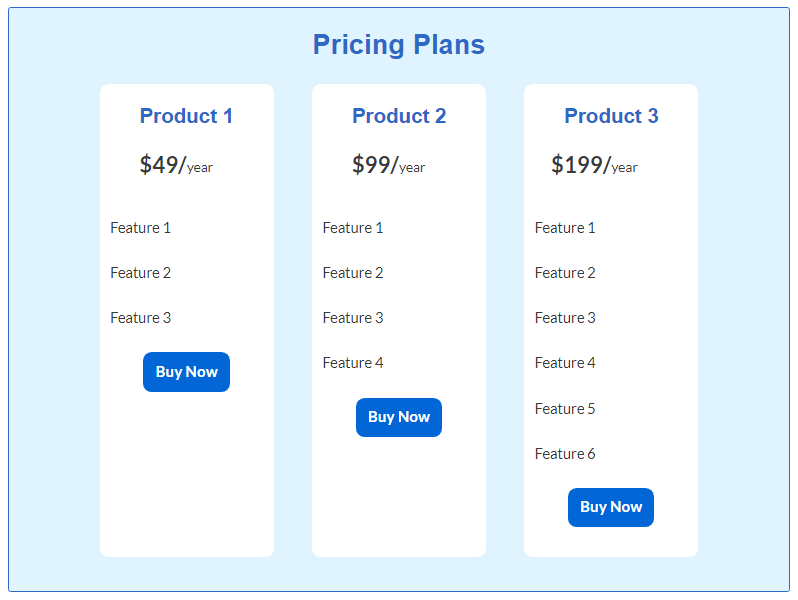
The only problem I see here is that, pricing information and buy now button should be vertically at an equal height.
It’s easy to do that as well, we will see in the next step. - Fill vertical space in GenerateBlocks Grid Block
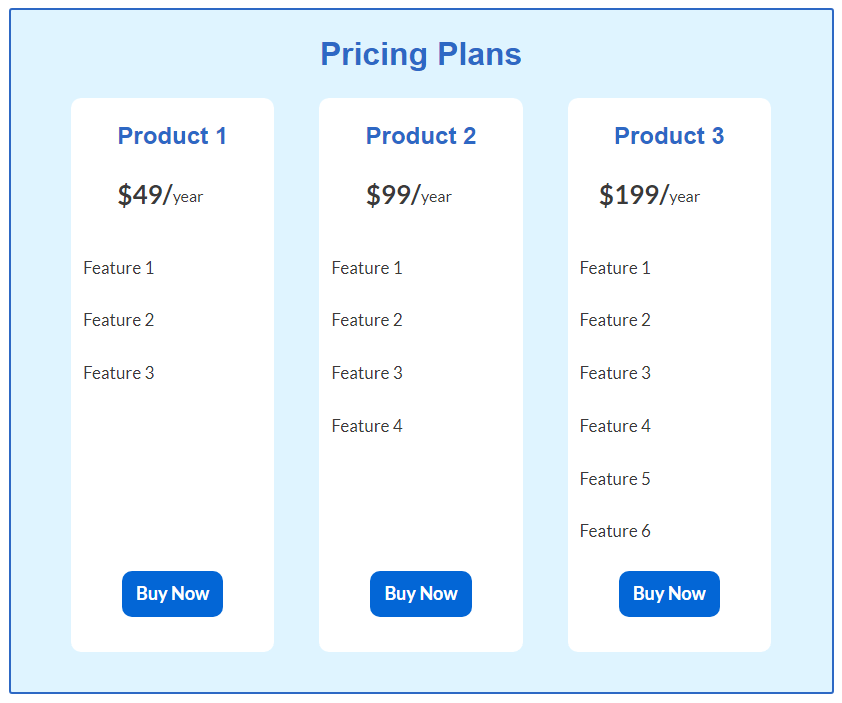
Now we just need to align the buttons in a straight horizontal line.
I have made a CSS class called align-buttons, and applied it to the main grid block’s additional CSS classes field.
GenerateBlocks CSS to Fill up Vertical Space at Bottom
Just a few lines of CSS code will fill up the vertical space encountered after using multiple columns in a GenerateBlocks grid block.
.align-buttons .gb-inside-container {
  display: flex;
  flex-direction: column;
  height: 100%;
}
.align-buttons .gb-inside-container .gb-button-wrapper:last-child {
  margin-top: auto;
}
Hit the publish button and refresh your page. Now, your GenerateBlocks pricing table should look like the one below.
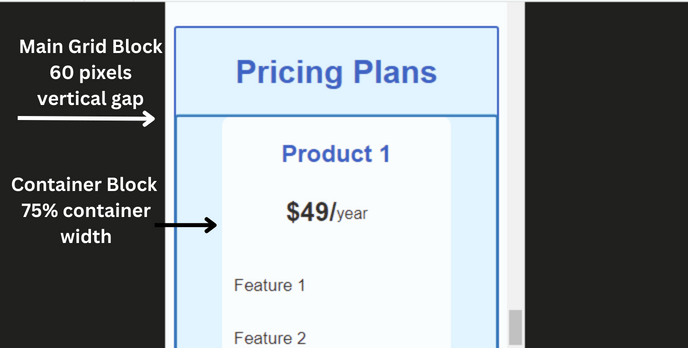
Make Pricing Table Mobile Responsive
To make your GenerateBlocks pricing table mobile responsive, you just have to perform 3 steps.
- Click on the Mobile icon at the top while editing
- Select the main Grid block and give Vertical Gap of 60 pixels
- Now, click on every Container Block that holds product feature information and bring down the Layout Container Width to 75%
- That’s it, you’re done.
Creating this type of pricing table won’t take more than 15 to 20 minutes. Plus, you can save the design to a draft post for later use as well.
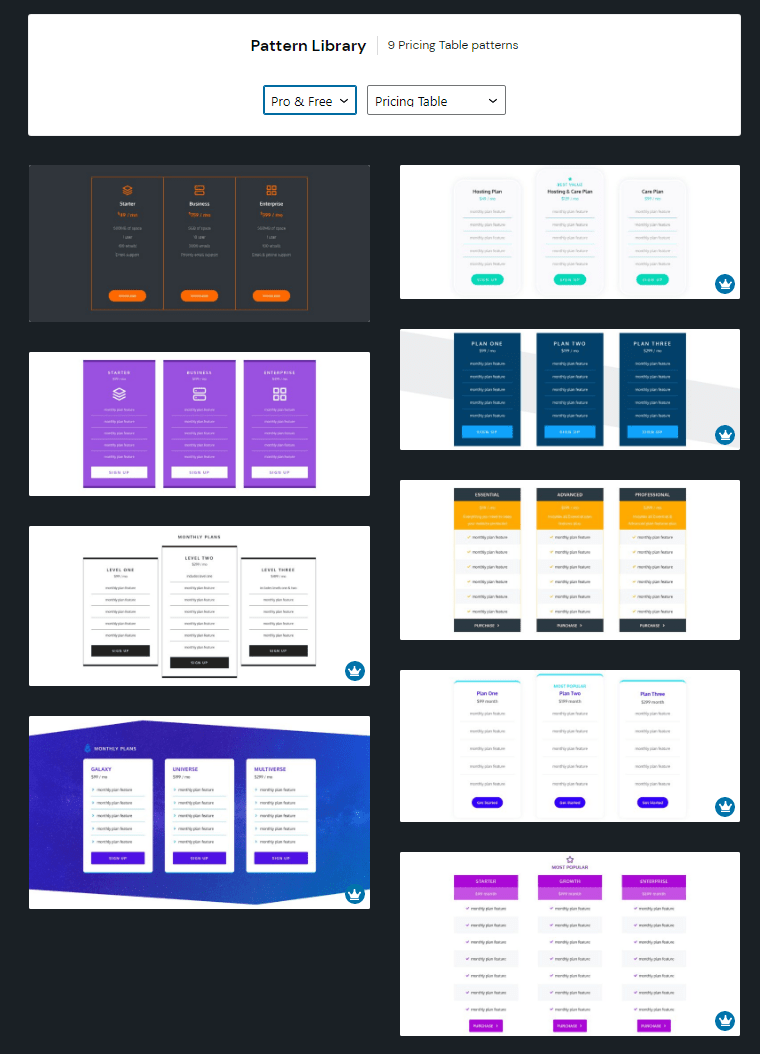
Pricing Tables in GenerateBlocks Pro
GenerateBlocks Pro has an awesome collection of pricing tables that can be straight-away imported if you are using the premium version of GB.
Although, it won’t take long to create a pricing table with the free version of GenerateBlocks.
However, GenerateBlocks Pro offers lots of pricing table patterns with effects like box shadow, text shadow, transitions, etc.
Have all look at the sample image below.
Conclusion
I hope you’ve learnt how to create a pricing table using GenerateBlocks.
This way you can add pricing table in GeneratePress, Astra, Kadence, in fact in any WordPress theme. You do not unnecessarily need to download a separate WordPress pricing table plugin.
Plus, I do wanted to mention that I haven’t really beautified the look of the pricing tables. You can remove the background color, make the container completely without borders, apply different shapes with light opacity and also give box shadows to each container.
This way all the three product containers will pop out giving a vibrant look.
In the end, if you have any questions, feel free to ask them in the comments section below.